Checklist before installing a HubSpot integration
We recommend verifying the following requirements before installing the HubSpot integration to ensure a smooth setup.1. Ensure you are a HubSpot Super Admin
You must be a Super Admin to install an app. This is a HubSpot requirement.2. Ensure you have a Sales Hub seat (if access to Leads is required)
If your integration requires access to Leads, you must have a Sales Hub seat in HubSpot. Without this, you may not be able to retrieve or manage lead data. To check if you have a Sales Hub seat:- Log in to HubSpot.
- Click on your profile picture and select Settings.
- In the left sidebar, navigate to Users & Teams.
- Locate your user account and check for Sales Hub seat assignment.
- If you do not have a Sales Hub seat, ask your HubSpot administrator to assign one to you.
Set up a private app for custom field changes
If the app you’re integrating with needs to know when custom fields change in HubSpot, it asks you to create a private app in your HubSpot account. You must be a HubSpot Super Admin.- Get the webhook URL from the app you’re integrating with. It looks like this:
- Install the HubSpot CLI, then run
hs initto connect it to your HubSpot account. - Create a private app with webhooks. When prompted, enter a name and location for the project:
- In the new project, open
src/app/webhooks/webhooks-hsmeta.json. SettargetUrlto the webhook URL from step 1, and add anobject.propertyChangesubscription for each custom field you want to track. See HubSpot’s webhooks guide for the file format. - Run
hs project uploadto deploy the app to your HubSpot account. - In HubSpot, go to Development > Projects. If you don’t see Development in the left sidebar, look under More.
- Select your project, then click the app.
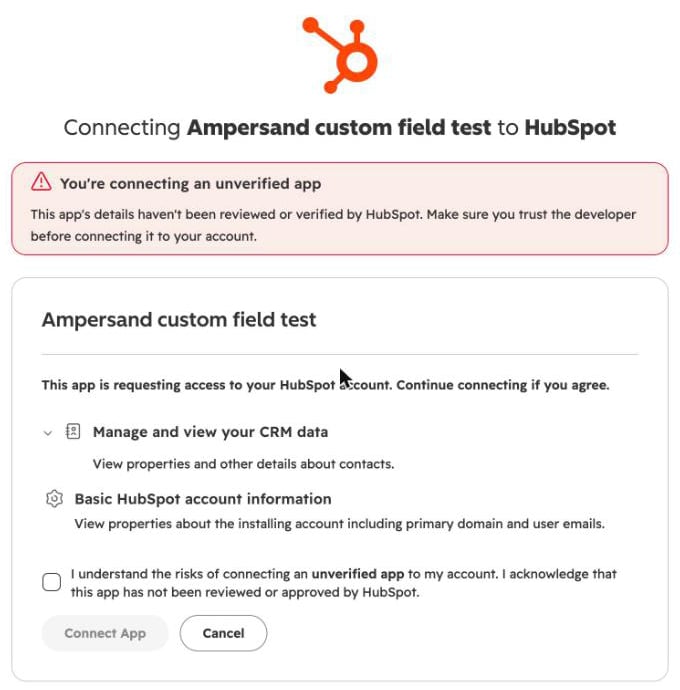
- On the Distribution tab, click Install now.
- Check the acknowledgment checkbox, then click Connect App.